
 That polycap was supposed to go into the part you just put together.
Hastily, you grab the assembly and turn it around in your fingers - prying...searching...hoping for a small space where your fingernail might fit...a tiny glimmer of redemption. But there is none. Your fate was sealed the moment those pieces clicked together.
Or was it?
Rest easy my friend, for not all is lost! Today I'll be sharing how you can disassemble even the tightest fitting parts, with minimal stress or damage to the plastic - and all you need is your trusty hobby knife.
Click on the Read More link for the rest of this post...
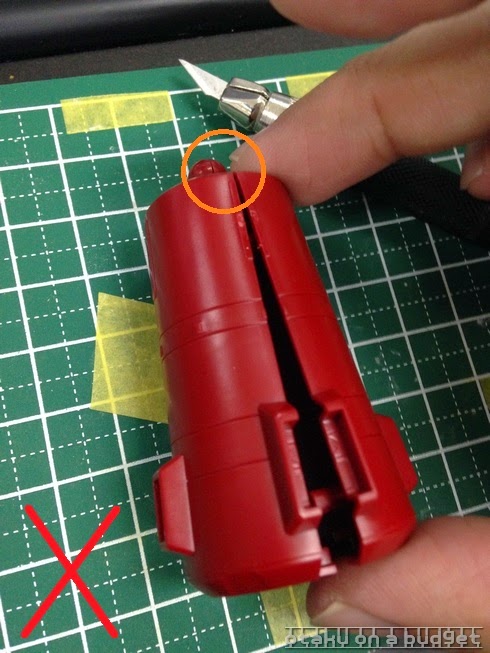
Take your instruction manual and identify where the pegs are. Gently slip the tip of the knife into the seam close to where one of the pegs might be. Take care not to cut the plastic (or yourself). Use the sharp edge to make a tiny gap.


Keep doing this around the part, starting close to peg locations, until you have a thin gap throughout the entire seam. Now you should be able to slip more of the blade into the gap. Run the blade around the gap until you hit a peg. At this point, twist the knife blade a bit to widen the gap.


Do this a little at a time, and repeat near each of the pegs evenly around the entire part. Do not pry one side more than the other, as it may stress the plastic and cause the peg on the opposite side to break. Just keep widening the gap evenly.
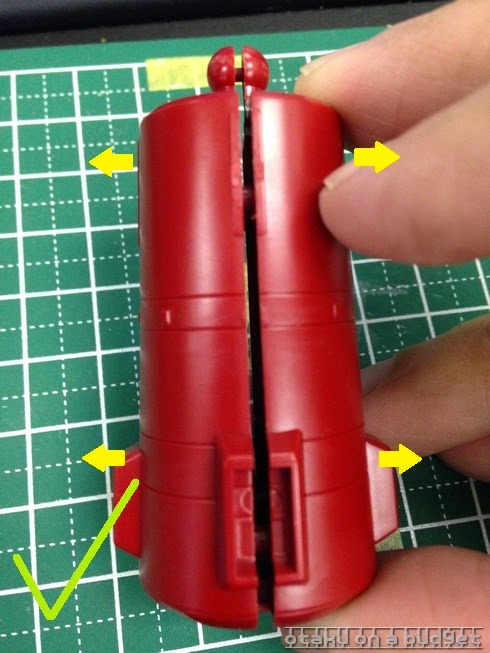
When the gap is large enough you can use something thicker like a nail file instead of the hobby knife to avoid damaging the plastic. Eventually, the pegs will get pulled up from their slots, enough for you to pull the pieces apart.


TIP:
For those who like to paint their kits, you can make a slanted cut on all pegs if you plan on doing a test fit before painting. This prevents the pegs from locking in place. Expect the part to have a loose fit afterwards, but you can just glue it in place during final assembly.

For straight builders you can do this if you tend to forget putting polycaps in a lot.
Make sure the peg you are cutting isn't a pivot of something that is supposed to move.
Until next time, keep building plamo!
No comments:
Post a Comment