Showing posts with label Completed. Show all posts

Tuesday, October 23, 2018

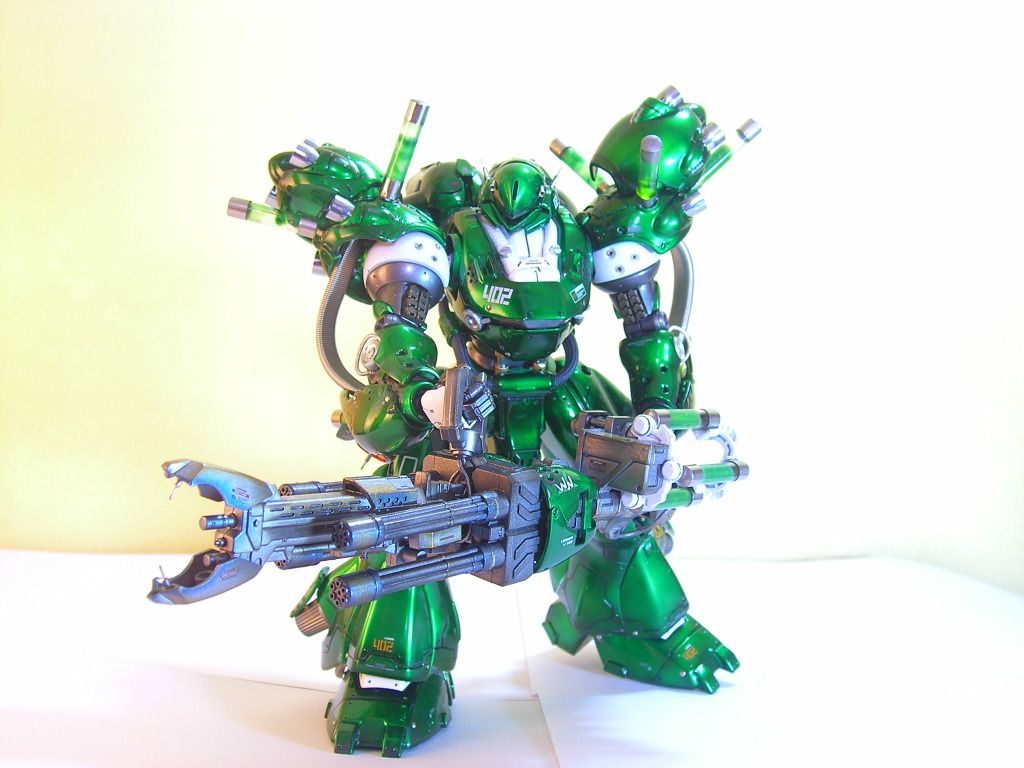
Suzumebachi - Roll Out Photos

Hey plamo nerds! I finally got around to taking some half decent photos of Suzumebachi and her drones. If you missed the build diary, you can find it here: Suzumebachi Build Diary

I already shared this album on the facebook page, but as images get compressed there I thought I'd put some higher resolution ones here for anyone who might be interested / isn't sick of seeing it yet lol. Enjoy!


Click on the Read More link for the rest of this post...

Monday, October 15, 2018

Suzumebachi - Build Diary

Greetings and salutations plamo nerds! You'll have to forgive my absence from the blog since August, but I had to pour all my time and focus on my GBWC entry. With so many tasks in my to-do list up until the last few days, I was worried I'd bitten off more than I could chew and would not finish in time - but I barely made it, completing the project in the wee hours of the morning on the last day of submission! Now that the Philippine leg of GBWC2018 has concluded, I can finally share with you my WIP photos, build process, and lessons learned from the event. Let's get started!


Warning: pic heavy, give it time to load :)

Click on the read more link for the rest of this post...

Tuesday, October 17, 2017

Kitsune - Build Diary

Greetings and salutations plamo nerds! GBWC Philippines 2017 is in the books, and it was one heck of a build-off! A ton of excellent work deployed to the battlefield this year, with last year's open category champion defending his title and taking the gold once again - a well deserved win for a monster of an entry! I didn't feel like my aging smartphone and photography skills would do justice to the winning entries, so here's a link to Gundam Philippines' page instead, I'm sure the official photos will be out soon. >> Gundam Philippines <<<

The Legend of Kitsune didn't make it into the top 3, but finished 5th place and was awarded a nice little consolation prize. This is the first time I participated in the GBWC, and I think I did quite well considering the level of competition this year. Now that she's back home, I get to do a proper photo shoot before she gets assigned to a permanent spot on my display shelf. Jump in if you want to learn more about the build, but be prepared for walls of text and a $h!tload of images!


Click on the Read More link for the rest of this post....

Tuesday, June 27, 2017

Kimaris - Knight of Gjallarhorn

Hey plamo nerds! Welcome back from the long weekend! GMKC 2017 wrapped up last Sunday, and although I didn't get any awards, I was glad to have participated. It was my first time joining a major sanctioned event, and while the outcome did not match my expectations, I gained valuable experience. I was hoping more recognition would be given to color separation, shading, seam fixing and weathering, but just like many events before it, high gloss still reigns supreme in GMKC 2017. In any case, I applaud the emerging winners for their flawless execution. Now that the Kimaris is back home, I'm just happy to add another model to my display cabinet.


Click on the Read More link for the rest of this post...
(WARNING: PIC HEAVY)


Tuesday, December 6, 2016

Tallgeese Boros


Ohayou gozaimasu my lovely weeaboos! I'm sure everyone is in a festive holiday mood - it's that time of the year when the expanding of our waistlines is inversely proportional to that of our wallets - that 2-3 week window when we can bring home new kits and get a little less flak for it from our significant others, because they're "self-gifts".  

Me? I won't be growing my backlog (...much). I already have too much to be thankful for this year - a healthy family, a stable job, a new house...and the cherry on top of my triple-scoop sundae? the Boros is finally complete! After almost a year of working on this thing, and more than a few mishaps that almost made me want to rage-quit the project...it is finished. 

Ladies, gentlemen, everyone who identifies as some other obscure gender or thing (hey, Setsuna identifies as a gundam), I give you my best effort yet...
the Tallgeese Boros!

warning: pic heavy!


Click on the Read More link for the rest of this post...

Monday, December 22, 2014

Commission Finished - MG Zaku Cannon

Good day fellow otakus! The holidays are upon us, and I'm sure you're all busy with your last minute shopping. I've been extra busy myself, preparing for my new job and working on my remaining commission projects for the year. Here's how the Zaku Cannon turned out.


Click on the Read More link for the rest of this post...(warning: pic heavy)

Friday, December 5, 2014

Commission Finished - SD Neo Zeong

I finally finished this monster of an SD! This was one of the more challenging builds I've done because of the number of techniques that were employed - seam fixing, shading, reverse wash, panel wash, hand painting and so on - just for a basic paint job.


Click on the Read More link for the rest of this post...


Monday, October 27, 2014

Commission Finished - MG Kampfer

Good day plamo otakus! I was able to get some work done on my commission projects over the weekend - surface prep on an SD Zeong, a bit of snap building on an MG Zaku Cannon, and best of all, I completed the MG Kampfer!


Click on the Read More link for the rest of this post...(PIC HEAVY)

Thursday, October 2, 2014

Commission Finished - MG GM Sniper

Hello fellow otakus! Here is the finished MG GM Sniper. I'm going to be sad to see him go, but I hope the owner appreciates it as much as I enjoyed building it!


Click on the Read More link for the rest of the pics...

Saturday, September 13, 2014

Commission Finished - MG Wing Proto Zero

Good day plamo fanatics! I just finished sealing the Wing Proto Zero, the first of four commission projects I took on last month. The customer ordered a straight build and paint with some light shading. Here's how he turned out...


Click on the Read More link for the rest of this post...

Tuesday, August 5, 2014

Renegade Freedom, clear to launch!

After a ton of other projects, I finally found the time to get back to this one. Presenting my latest completed build: Renegade Freedom!


Click on the Read More link for the rest of this post... (pic heavy)

Monday, May 5, 2014

Tallgeese Titan

[Set your GP base]
"..Tatsuya Yuki..."

[Beginning Plavsky Particle dispersal]
"...Tallgeese Titan...Ikuzo!"


I've been keeping this build under wraps until after the contest results were released...and today I unveil my latest creation - the Tallgeese Titan!


Hit the read more link to see the rest of this post! (PIC HEAVY)

Thursday, January 30, 2014

Tallgeese Templar v1.0

After only 4 weeks...I present to you all, the Tallgeese Templar 1.0!


You read it right folks...this build took a mere 4 weeks from snapfit to photoshoot! A personal record for me, because I usually take a couple of months to finish a model.

Click on the Read More link to view the rest of this post!

Monday, July 1, 2013

Gundam 0000, commencing armed intervention!

WIP 1
WIP 2

Warning: Pic Heavy!

This project was actually completed way back in April, but I never got to take pictures of the finished product until yesterday. I built a fairly simple catapult themed base out of a plastic chopping board, some parts from an HG guntank, floppy drive components, plastic beams and sheets.


More info and pics after the jump:

Thursday, December 20, 2012

"Banagher Links, launching!"

This project went smoothly, and I was able to finish in about 5 weeks time from initial snap-build to final top coat. The build is fairly straightforward - with very few panel lines and rivets added to break up blank armor panels. I went with my planned color scheme although the blues and greys ended up on different parts. The shading is a bit more subdued than I intended ( I didn't expect mr.hobby white to have such good coverage LOL). Tamiya panel line enamel was used for panel lines, and lots of decals give it that "ver.Ka" feel.


for more pics and info click on the Read More link..

Monday, October 1, 2012

MG Kampfer Desolator

After over 3 months of mutilating plastic and inhaling cement and paint vapors, I am proud to present to you - the Kampfer Desolator!


View the album to see the rest of the pics!:

Thursday, May 10, 2012

Trigger Happy


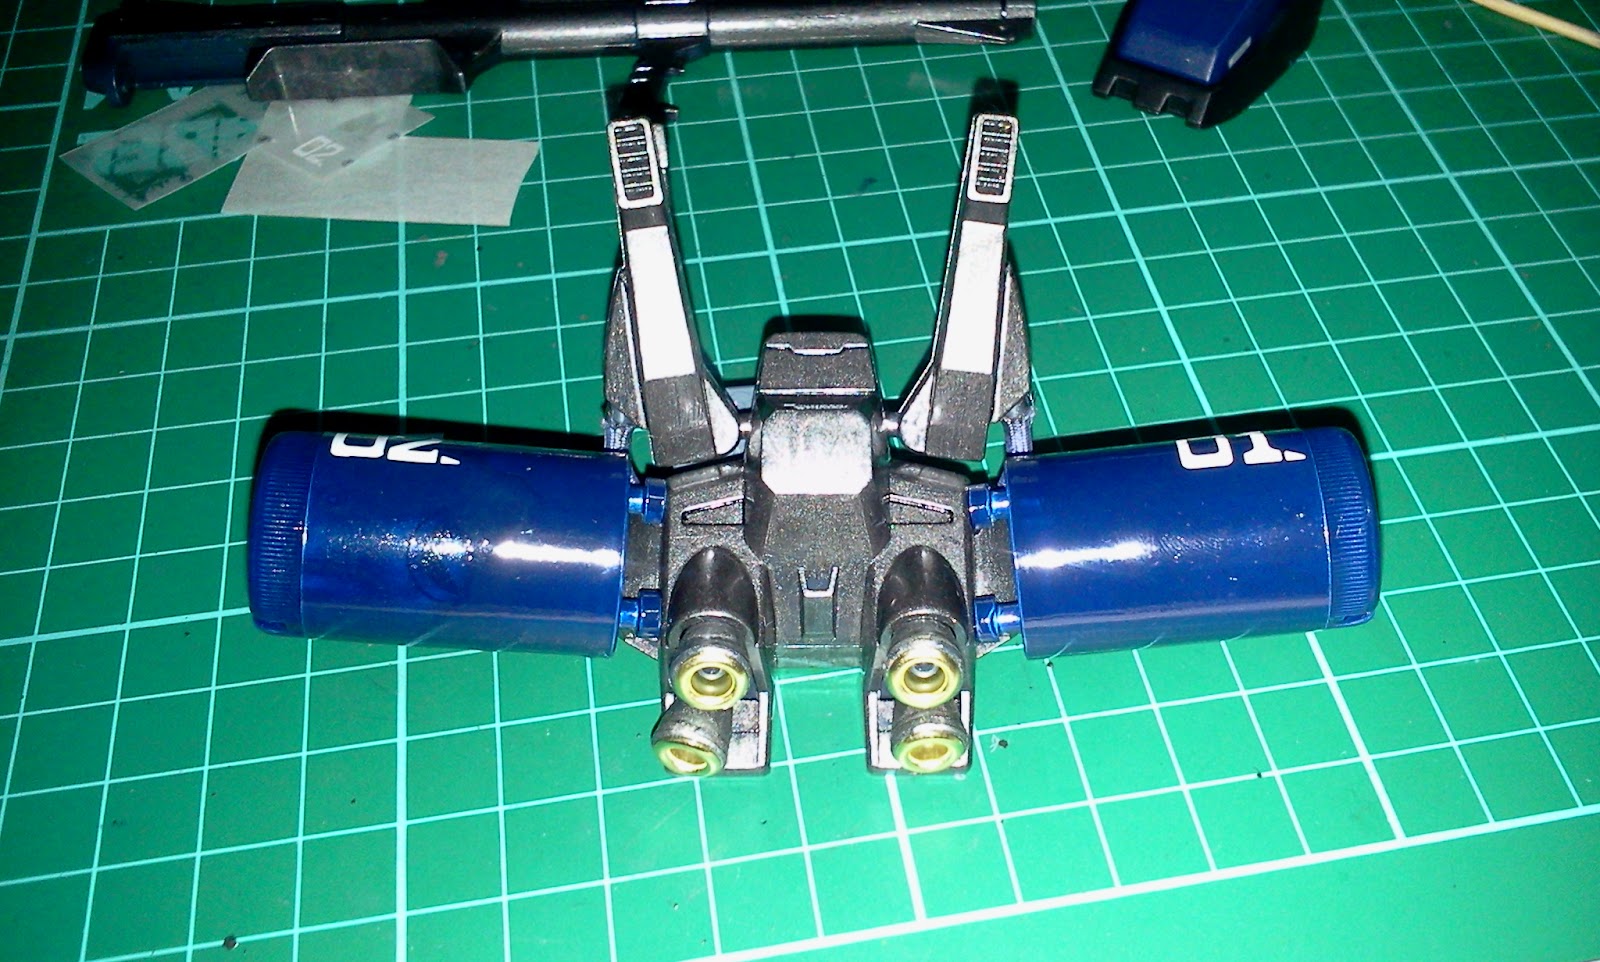
Next in line for the remodeling project was the MK2 in Titans colors. Out of the box this kit already looked customized because of the alternate paint scheme. Unfortunately the previous owner snap-built this kit as if he had to do so in the shortest amount of time – leaving nubs everywhere. If this model was ever going to make it to my shelf I had no choice but to take it apart, sand down the nubs, and paint it. This mobile suit looks very bulky – sharing the leg and arm girth of taller models such as my Delta Plus – so I decided to do a heavy weapons theme. The kit would still have that dark blue base color, but I would load it up with lots of firepower.
Like in all of my gunpla projects, I started with painting and detailing the internal frame, and then I sprayed the outer armor dark blue...


These machineguns intended for Halo action figures (see the hands attached?) had great detail and were the perfect size – I just had to buy them. At 80 php each they were a steal (Divisoria FTW!)


I added these ammunition barrels to the backpack so this MK2 would never run out of ammo in a fight like that chump Trowa Barton always does. What are they made of? Look up at your fluorescent light…see that cylindrical thing under the magical glowing tube? It’s called a starter. It's not expensive.


For the ammo belts, I broke out the snake chain (Divisoria FTW!). I had to glue two strands together (one link at a time to retain flexibility) to form a belt.


...I added missile pods to the shoulders and legs for good measure. (i got these from an electronics store...not sure what they're called but i call them missile pods.)  Fresh off of the cutting mat: MK2 Heavy Weapons System – a trigger-happy MS pilot’s wet dream!


...so let's go!

reminds me of the APUs from the Matrix..

if bullets don't do the trick, holster the machine gun...

...and shoulder the bazooka!

head to the Shelf section for more pics!


Friday, May 4, 2012

Delta Plus Build Diary


In this post I’ll be recounting the build process for the current kit I’m working on – a Master Grade Delta Plus.  After doing a lot of catching up, learning what I can about Gundam modelling, and seeing pictures of completed kits online, I was able to narrow down my list of coveted models. Near the very top of that list, second only to the Sinanju, was the Delta Plus.


None of the replica brands carry this design, so my chances of ever acquiring this kit we’re cut in half from the very start…but if I was to buy an original kit, I knew it would be this one. I just love the lines and proportions, add to that the fact that it can transform into a jet (wave rider mode) and I was sold. After a few days of getting her in the right mood and a lot of bribing, my wife finally agreed to let me buy this model (she’s the best J ) . Strangely enough right when I went into the store, someone else purchased the only Delta Plus on display. I had to cross my fingers and what other appendages I had when I asked the salesperson if they had any more in stock. I was lucky, as they had only one more. I guess the kit was really meant for me!


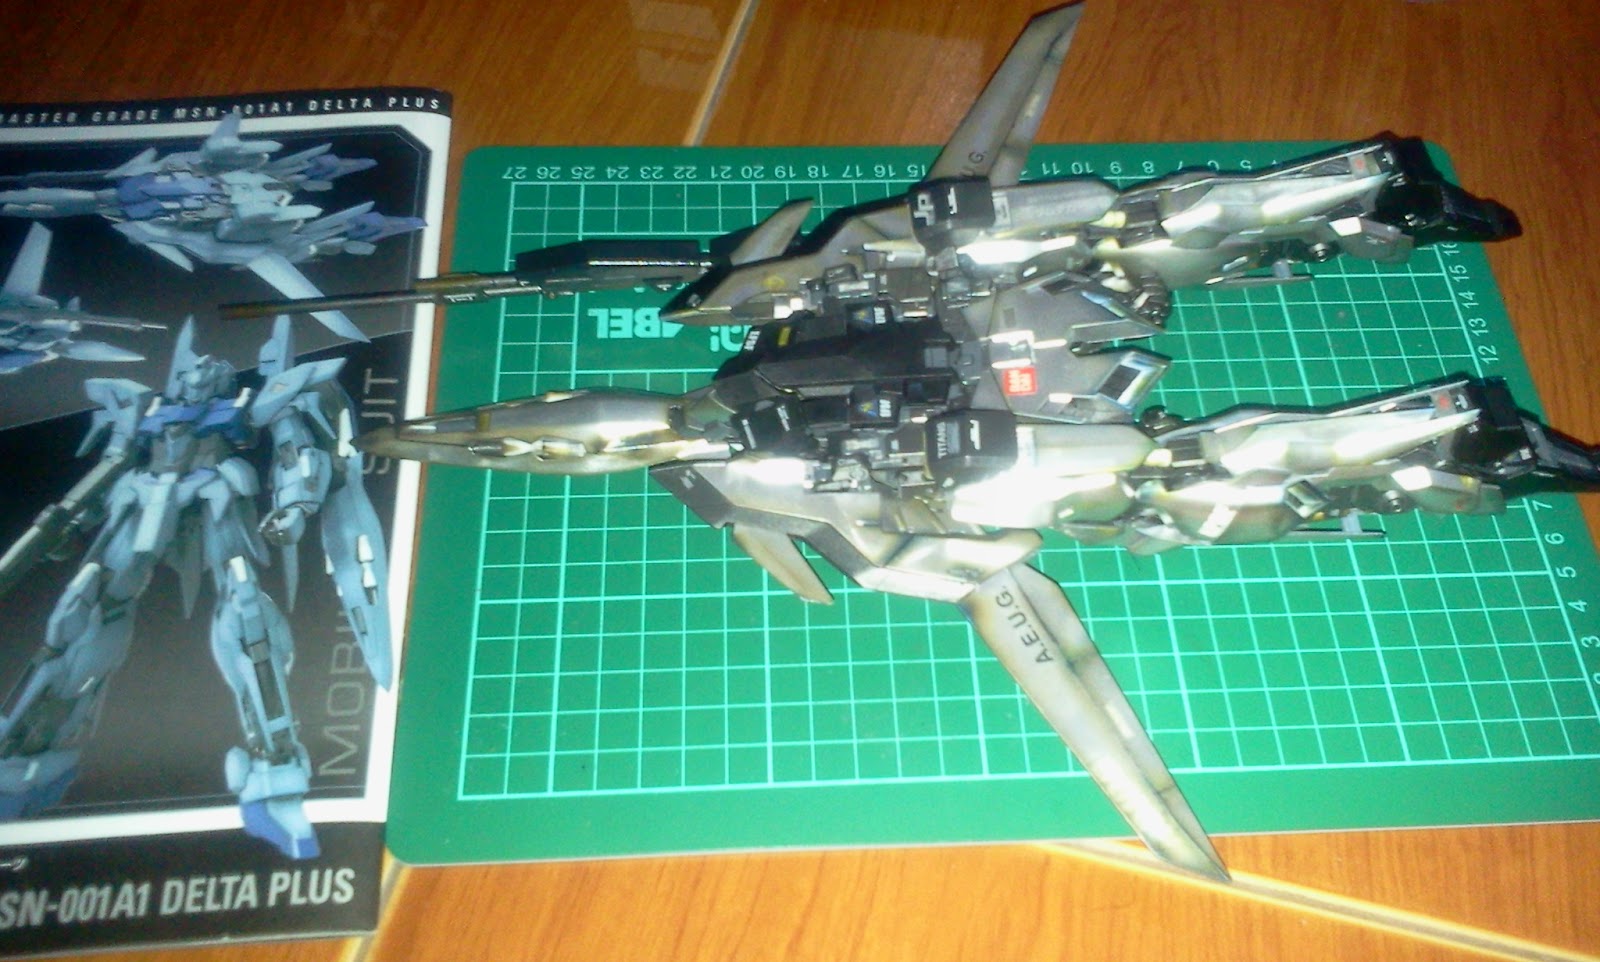
 I settled on a color scheme similar to Warmachine. Chrome, black and lots of decals - but instead of the shiny brand new look I wanted this MS to appear as if it had been fighting a lot already, and is in need of maintenance and repair. I sprayed most of the kit with Bosny chrome, and used flat black on the other panels on the feet and chest area. For the internal frame, I used Mr. Hobby steel. 


My brother-in-law was kind enough to lend me his Tamiya Weathering Master set. I applied the smoke and rust pastels on the kit, careful not to go overboard. From what I’ve learned on gunpla websites, there is a huge difference between weathering a kit, and just making it dirty.
<legs with weathering>
I actually used some of the regular stickers that came in the box. The chrome base and the weathering made it easier to hide the fact that they were plain old stickers. I also applied a good amount of dry transfer decals, and some wet transfer ones as well which I purchased separately. I was going for that navy fighter jet look. A few days ago I was able to get my hands on a Tamiya Weathering Master D set, and proceeded to apply burnt blue and red on the parts where I saw fit, such as engine exhausts.

 I was able to sneak in a LED modification into the head by cutting off some plastic. It was a risky move - this being a very expensive model – but it payed off. I’m thinking of modifying the wings a little bit, maybe add weapons and thrusters as they are kind of bare on their own. For now I settled for scribing some panel lines to make it look more like real aircraft wings. I also modded the rifle and gave it a longer barrel, plus some parts off of a HG Seven Sword. Like the scope? Its made of those ever reliable ballpen tips! I just had to saw off a bit to make it work.


 ...and after about 3 weeks of work, here it is!


..love the burnt metal effect..

Wave Rider mode...